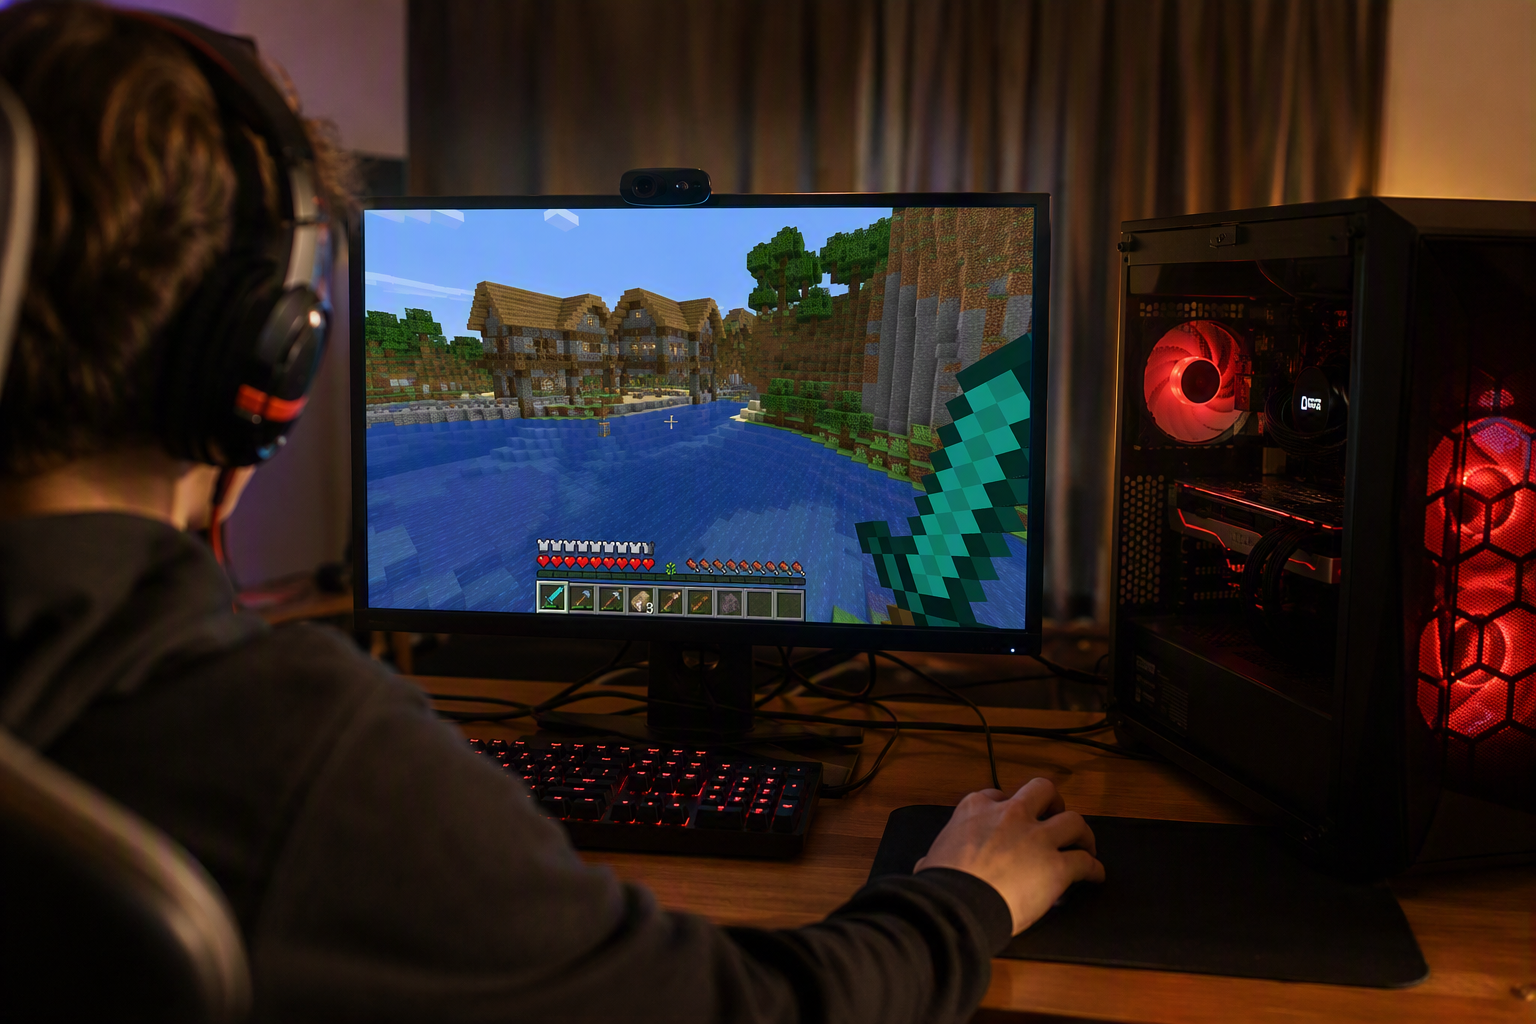
Minecraft is a popular game that has brought together players from all over the world to explore, build and compete. In the process, players from common regions and locations end up becoming loyal gaming friends. That is made possible by the internet, which connects players through a common Minecraft server. There are three easy ways of hosting a server. You may opt to use a third-party Minecraft hosting provider, use a simpler realm-style option or create and host a server yourself and share it with friends.
Most experienced players know how servers operate and are willing to set up their private ones where they can game with selected friends, learn how to be creative in building and survive together. For beginners, the process of setting up a server can seem technical at first. However, when it is broken down into clear steps, it becomes easier than thought. Here is a simplified step-by-step process of setting up a private server.
Select a Common Minecraft Edition
When setting up a Minecraft server for you and friends, opt for Bedrock Edition, but only if you involve them in some decision-making. For instance, Minecraft is available in two editions. Ask the majority whether they would prefer to play Java Edition or Bedrock Edition before setting up the server. These two editions come with varied server software to meet the core demands and compatibility requirements.
You nedd also need to ask them what devices they are using because Java Edition is limited to PC. If you realize your friends are using different platforms and devices, you may all have to be comfortable with Bedrock as it supports multiple devices. Finally, they all have to agree to have the same game version.
Install the Server Files
Before starting to download files, you may need to create a special folder that will carry all the necessary server files. Start by downloading and installing the latest compatible Java Development Kit that matches your chosen Minecraft version. After verifying the installation by running Command Prompt, download and run the server software and allow it to generate the required files.
Configure the Server Properties
Configure the server properties by customizing your world settings and adjusting the game parameters to your preference using the generated server properties file in Notepad format. These include game mode, difficulty level, player count, PvP and others. For starters, one should avoid changing the advanced default settings. Then save the file.
Finally, accept Minecraft’s applicable End User License Agreement (EULA) terms for the initial launch as required by the server software.
Test Your Minecraft Server
Launch your Minecraft server officially for the second time to allow it to generate a new world. You will be the first user to join and test whether everything was done well. Review how the worlds are generated, the movement of players and the general performance. If it is okay with your server setup, create a backup before inviting your friends to join.
Give Access to Selected Friends
Before granting access to friends, create basic rules by limiting what players can do, such as building anywhere, engaging in PvP, or taking items from each other. For a self-hosted server, they will also need you to share the server address to connect and network configuration, including security and firewall. Test the connection with one friend before inviting the entire group.
Option of Using a Hosted Minecraft Server
If you are a beginner making a server for yourself, you or your friends don’t have to struggle creating your own server for every gaming session. It may work perfectly as wanted or may have playback issues or fail to be compatible. Although hosting it on your PC gives you control, the technical aspects may be too much to handle while you still have to leave the computer on while friends play.
The reason most players opt to use already established Minecraft servers. You only need to know the type of server you want to play on, starting by choosing a game mode. There are many reliable Minecraft servers you can join today that offer access to more active players and a variety of game modes. They also have different features, rules, and levels of competitiveness to suit every player’s style of play. Considering your friends, the best choice of server will depend on how the group likes to play. Once you have chosen your preferred hosted server, create an account and select a plan depending on the number of friends you expect to play with. For a small group of friends, you can benefit from a cheaper server package.